Guides
How to build a leave request system in Notion
Updated September 2, 20266 min read
Create a Leave Requests database with a Person property, a Leave Type select, a start and end date, and a Status property set to Pending, Approved and Rejected. Collect submissions through a Notion form so employees never edit the database directly, review them in a board grouped by Status, and add a database automation that notifies the requester when you change it. Setup takes about thirty minutes.
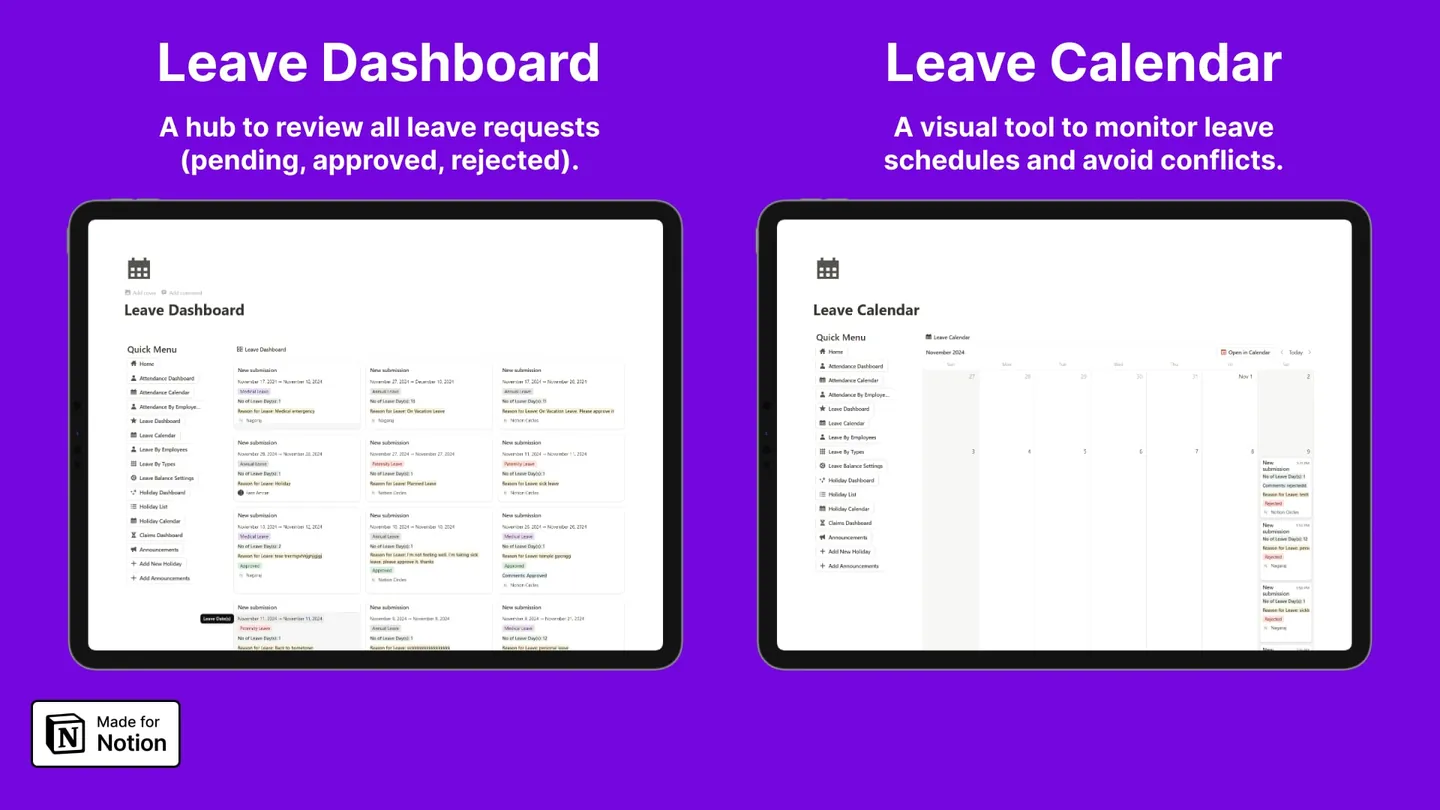
Leave is where small teams feel the absence of a system most sharply. A request arrives as a message, gets approved with a thumbs up, and then exists nowhere. Three months later nobody can say how many days anyone has taken.
The fix is not complicated. It is one database with a defined status flow and a form in front of it.
Why a form, and not just database access
This is the decision that determines whether the system survives contact with your team.
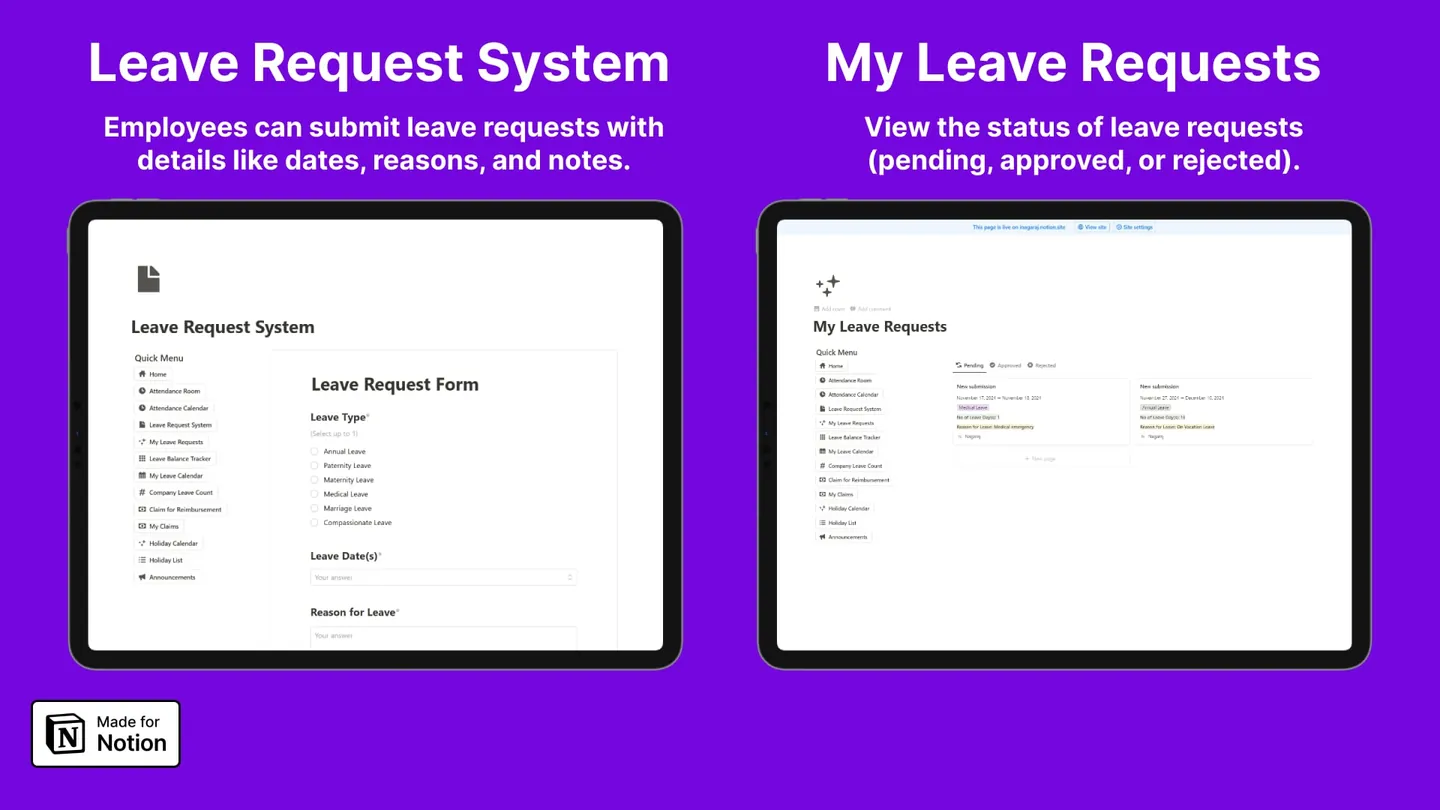
If employees have edit access to the Leave Requests database, they will edit it — the wrong row, someone else's row, a status field they should not be touching. A Notion form view writes new rows without granting access to existing ones. Submissions arrive structured and complete, because required fields are actually required.
Step 1: Create the Leave Requests database
Add a full-page database called Leave Requests, and build these properties:
| Property | Type | Notes |
|---|---|---|
| Employee | Person | Who is asking |
| Leave Type | Select | Annual, Medical, Paternity, Maternity, Marriage, Compassionate |
| Start Date | Date | First day off |
| End Date | Date | Last day off |
| Days | Formula | Calculated, see step 2 |
| Reason | Text | Free text from the requester |
| Status | Status | Pending, Approved, Rejected |
| Comments | Text | The approver's note back |
Use the Status property type rather than a Select for Status. Status has built-in To-do, In progress and Complete groups, which means a board view groups sensibly with no extra configuration, and it visually separates "waiting on me" from "done".
Step 2: Add the days requested formula
if(
  empty(prop("End Date")),
  0,
  dateBetween(prop("End Date"), prop("Start Date"), "days") + 1
)
The + 1 is not optional. dateBetween returns the gap between two dates, so a request from Monday to Monday returns 0 — a person taking one day off would be recorded as taking none. Adding one makes the count inclusive of both ends, which is how everyone actually counts leave.
Do not use a date range in a single property
Notion lets one Date property hold a range, and it looks tidier. It also makes every subsequent formula harder, because you cannot address the start and end independently. Two properties, always.
Step 3: Set up the status workflow
Open the Status property and define exactly three options:
- Pending — in the To-do group
- Approved — in the Complete group
- Rejected — in the Complete group
Resist adding more. Every extra status is a decision someone has to make and a filter you have to maintain, and "Partially approved" or "On hold" invariably means a conversation that should happen outside the database.
Step 4: Collect requests through a Notion form
On the Leave Requests database, add a view of type Form.
Include: Employee, Leave Type, Start Date, End Date, Reason. Mark all of them required.
Exclude: Status, Comments, Days. Status defaults to Pending on submission, Comments is yours, and Days is a formula that computes itself.
Share the form link with the team and pin it in the employee space. That link is the only leave channel — the moment you also accept requests by message, the database stops being the source of truth.
Step 5: Build the approval board
Two views do the work.
A board grouped by Status is the queue. Pending on the left, and you drag a card to Approved or Rejected. Filter it to hide anything older than a couple of months so the queue stays a queue.
A calendar keyed to Start Date is the conflict check. Before approving anything, you look at the week and see who else is already off.
That second view is the one that repays the whole build. Approving leave one request at a time, in isolation, is how two of your three developers end up away in the same week.
Step 6: Automate the status notification
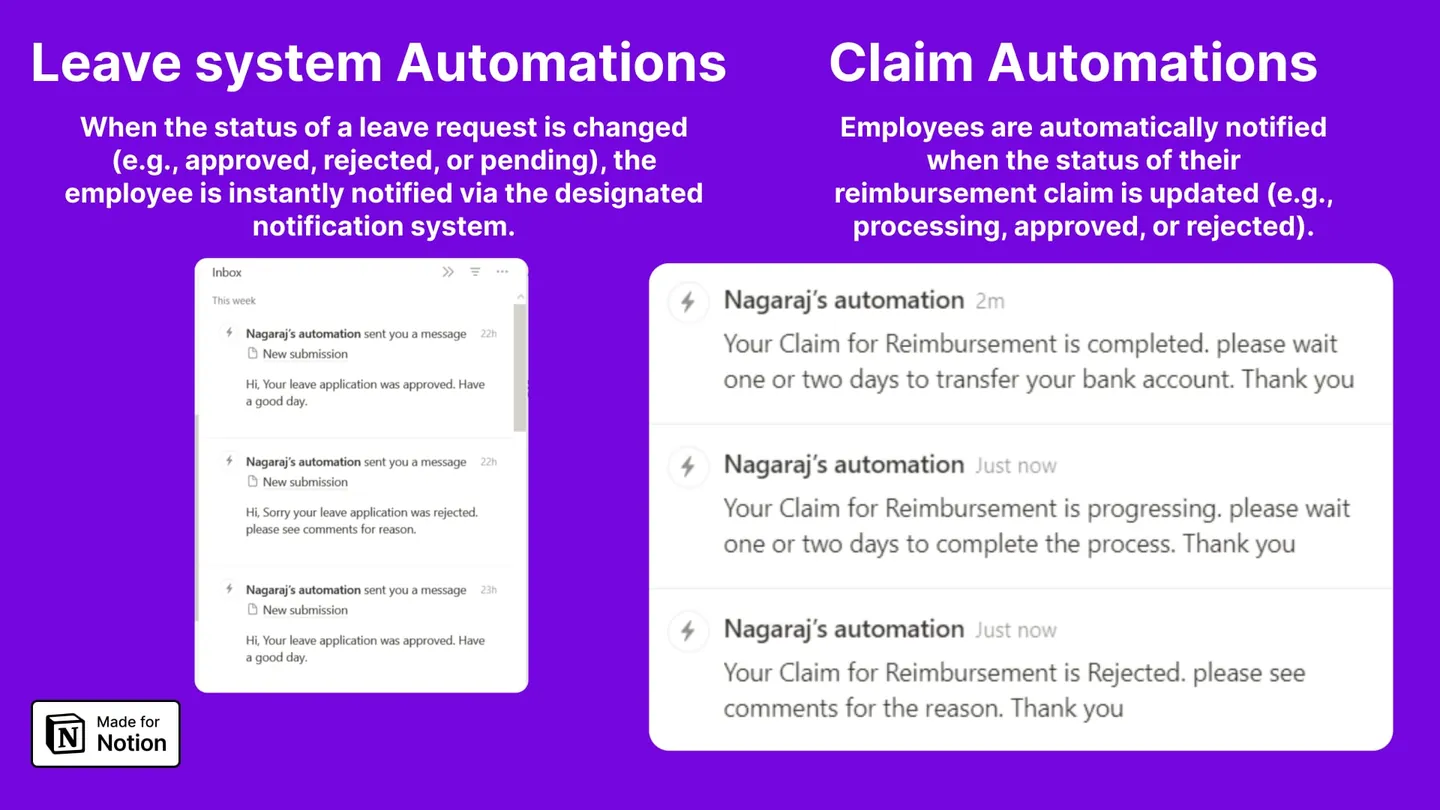
Without this step the system is only half built. You approve the request, the database is correct, and the employee still does not know.
On the database, open Automations and create one:
- Trigger: when
Statusis edited - Action: notify the person in the
Employeeproperty
Now changing a card to Approved tells the requester immediately, with your comment attached if you left one.
Automations are a paid Notion feature and the action names shift between plans, so check the exact options your workspace offers. Everything else in this guide runs on the free plan.
Common mistakes
No leave balance anywhere. Requests alone tell you what was asked for, not what remains. A rollup that sums approved Days per employee, subtracted from an allowance on an Employees database, closes the loop. Until you add it, every "how many days do I have left" is a manual count.
Approving from the calendar view. It is tempting, because the calendar is where you spotted the conflict. But the calendar hides the reason and the comments field, and approving without reading the reason is how you approve two weeks of leave you thought was two days.
Letting Pending pile up. A queue nobody clears trains people to chase you by message instead, and then you have both systems. Clear it on a fixed day each week.
Deleting rejected requests. They are the record of a decision. Keep them; filter them out of the working view instead.
What comes next
A leave request system without balances is half of the picture, and balances are a rollup away. The other natural extension is a reimbursement flow — structurally the same shape, a form and a status field and a notification, applied to money instead of days.
Both are already built in the full template, along with the attendance side this pairs with.
Or get all of it, wired
Leave, balances, attendance, holidays and reimbursement claims, with the automations already configured. $59 one-time.
Common questions
Do leave automations need a paid Notion plan?
Yes. Database automations are a paid feature, so the notification step needs a Notion plan above free. Everything else in this guide — the database, the formula, the form, the views — works on the free plan. Without automations you approve the request and tell the person yourself.
How do I count working days instead of calendar days?
Notion has no built-in business-day function, so an exact answer needs a formula that walks the date range and excludes weekends and your holiday list, which gets long and brittle fast. The pragmatic version most small teams use is calendar days plus a manually adjustable Days Deducted number property that the approver can override for the rare request spanning a holiday.
Can employees see each other's leave requests?
In a shared database, yes. Notion permissions stop at the page, not the row. The usual arrangement is to keep the full database on the admin side and give the team a linked view filtered to the current user, which handles the everyday case without pretending it is real access control.
What stops someone approving their own leave?
Nothing technical, if they have edit access to the database. Keep edit access on the Leave Requests database limited to approvers and let everyone else in through the form and a read-only filtered view.
Skip the build
The full HR system, already wired. $59 one-time.
Read next
Back to the guide index.